

How To: Generate a Swagger Descriptor for REST-based Services using Swashbuckle
KB001869
PRODUCT
Swagger is a representation of your RESTful API. With a Swagger-enabled API, you get interactive documentation, client SDK generation, and discoverability. You also get a descriptor file that you can use with the REST broker which, in turn, can be used to generate SmartObjects for your API. This article describes how to add the Swashbuckle package to your REST-based API to automatically generate a Swagger descriptor for use with the REST broker.
This approach works when you control the source of your API. If you do not control the source and are simply referencing an existing API (typically online), you must use a different approach. See Resources for Working with the REST Service Broker for more information.
Table of Contents
This article contains the following sections:
- Installing Swashbuckle and adding it to your Project
- Enabling Swagger Doc and UI
- Enabling Swagger to use XML Comments
- Describing Enumerations as Strings
- Getting the Swagger JSON File
- Using the Swagger File with the REST Broker
Installing Swashbuckle and adding it to your Project
Swashbuckle is the NuGet.org package that you add to your new or existing API: Download the Swashbuckle package
When the package is downloaded, use the package manager console to install it using the following command:
After the package is installed, go to the App_Start folder in the Solution Explorer. You'll notice a new file called SwaggerConfig.cs. This file is where you enable Swagger and set configuration options.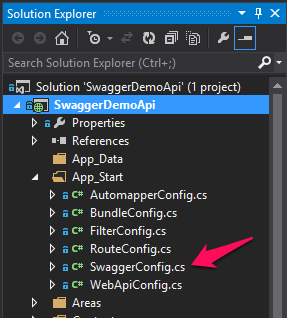
Enabling Swagger Doc and UI
The first thing you have to do to enable Swagger is to add the following line. This enables the Swagger file generation and the Swagger UI to test your API.
.EnableSwagger(c => c.SingleApiVersion("v1", "A title for your API")) .EnableSwaggerUi();
Start a new debugging session (F5) and navigate to:
http://localhost:[PORT_NUM]/swagger
You see Swagger UI help pages for your APIs.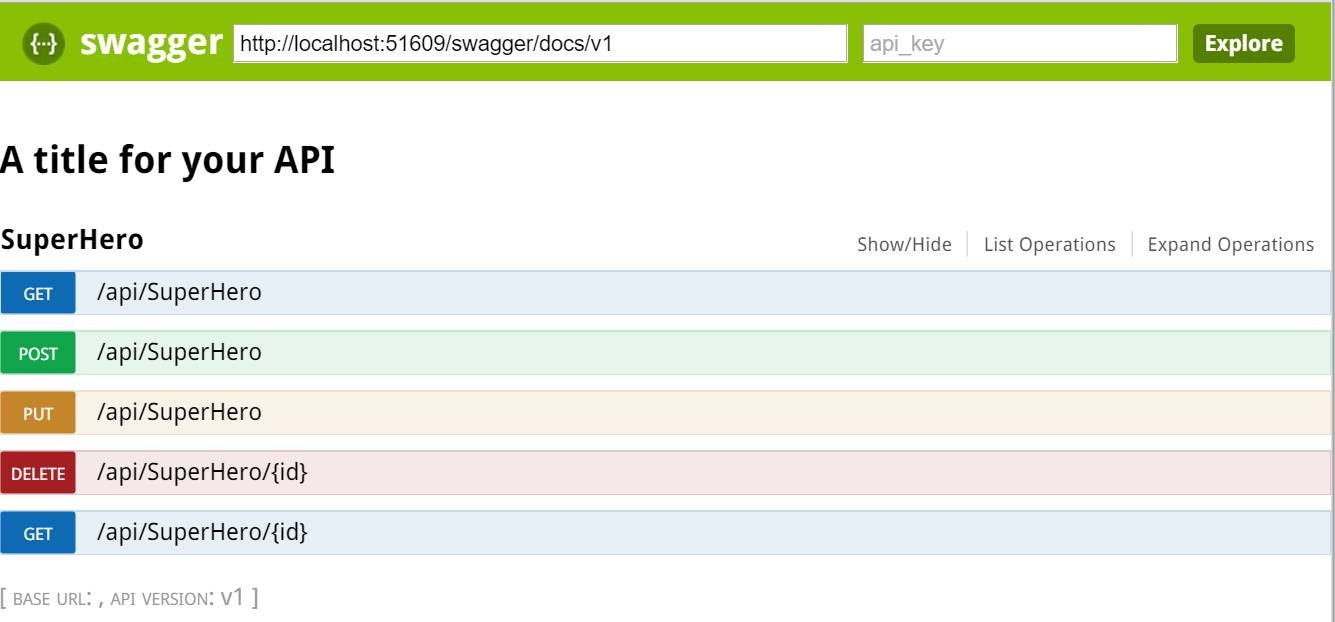
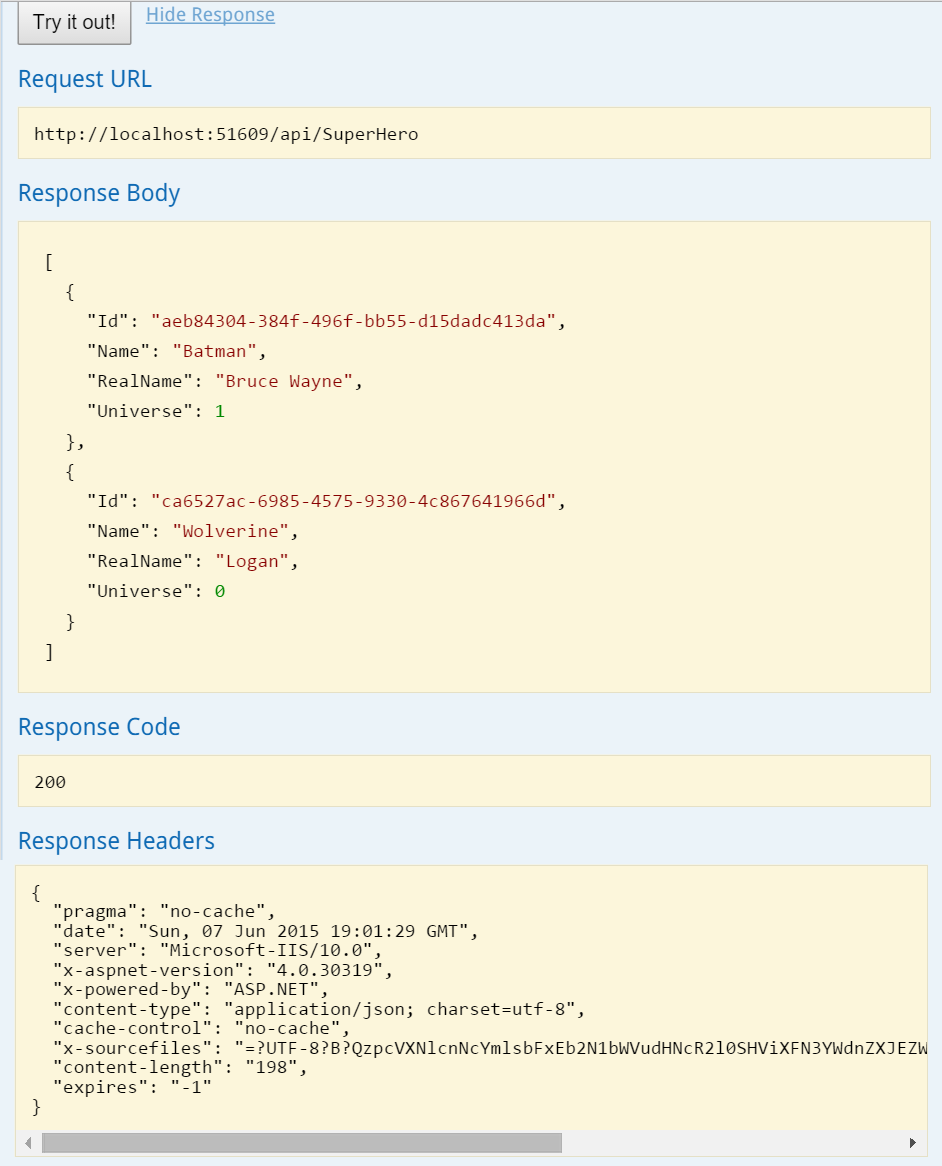
Expanding an API and clicking the Try it out! button makes a call to that specific API and returns results.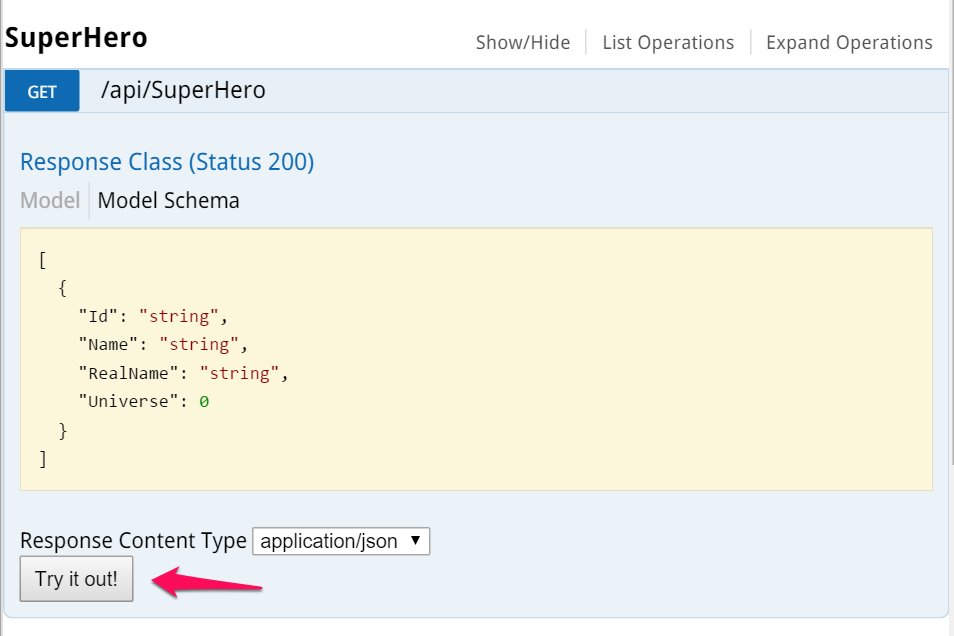
Enabling Swagger to use XML Comments
To add more metadata to your Swagger file, configure Swashbuckle to use XML comments. These are the same XML comments that ASP.NET Help Pages use.
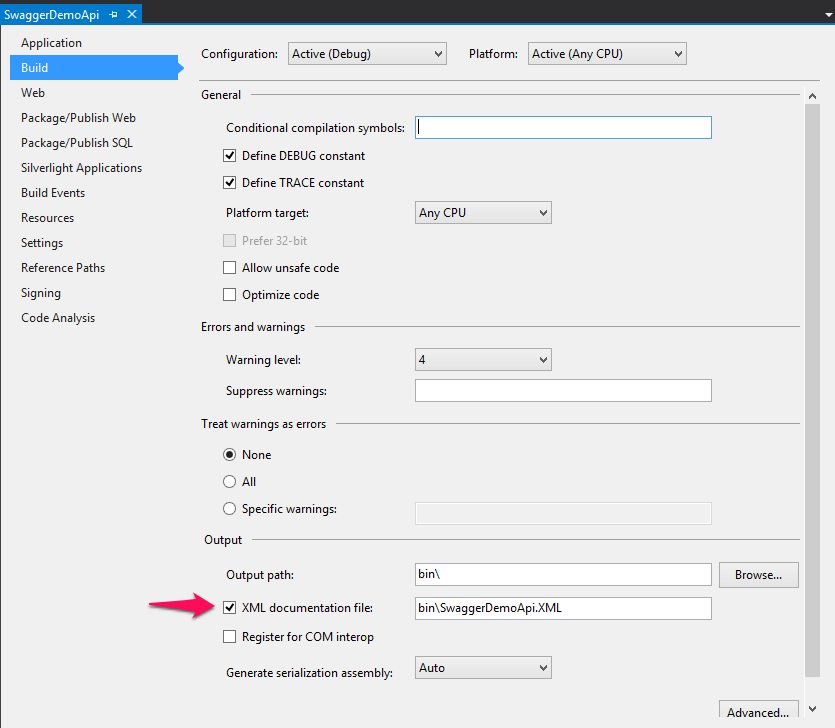
First, enable the creation of XML documentation. In the Solution Explorer, right-click the Web API project and click Properties. Click the Build tab and navigate to Output. Make sure that the XML documentation file option is checked. You can leave the default file path.
Next, you need to configure Swashbuckle to include the XML comments in the Swagger metadata. Add the following line to SwaggerConfig.cs. Make sure to change the file path to the path of your XML documentation file.
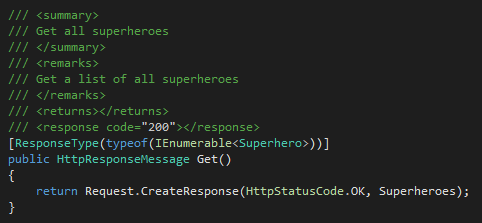
Finally, if you haven't already, add XML comments to your Models and API methods.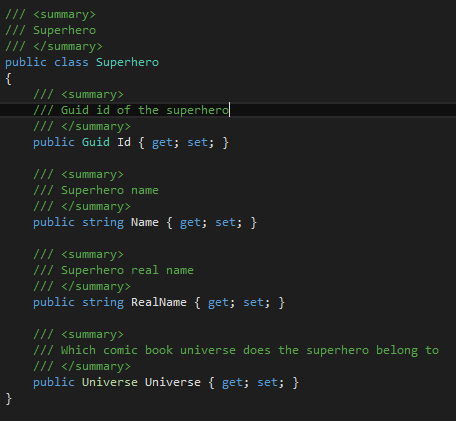
Run the project and navigate to the Swagger file by adding /swagger to your URL. You should see more details added to your API documentation as highlighted.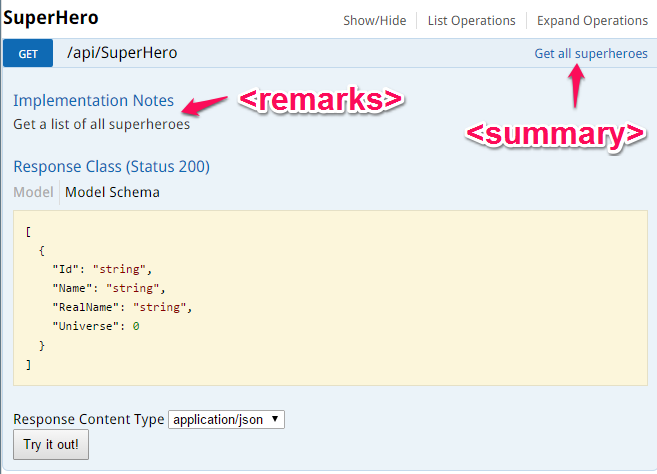
Under Response Class click Model. You see your XML comments added to your models.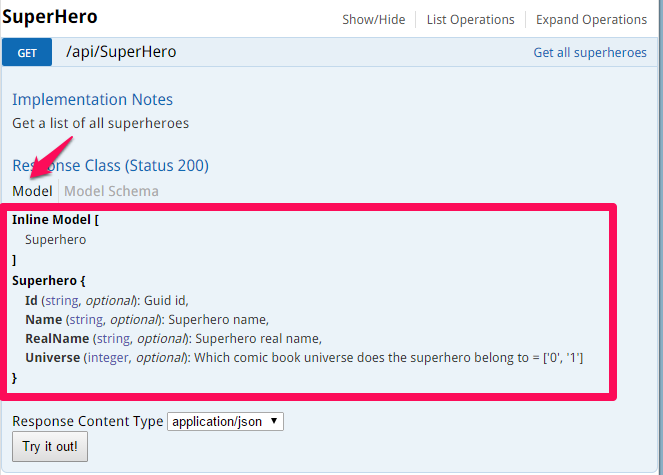
Describing Enumerations as Strings
When you have a class containing an enum property, in this case called Universe, Swagger displays these Enum values as their integer value. This is not useful and can be changed to display the string representation of the enumeration.
Add the following line to SwaggerConfig.cs:
The complete configuration up to this point:
.EnableSwagger(c =>
{
c.SingleApiVersion("v1", "SwaggerDemoApi");
c.IncludeXmlComments(string.Format(@"{0}inSwaggerDemoApi.XML",
System.AppDomain.CurrentDomain.BaseDirectory));
c.DescribeAllEnumsAsStrings();
})
.EnableSwaggerUi();
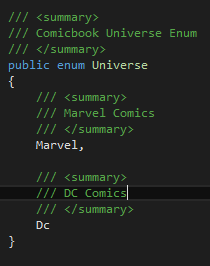
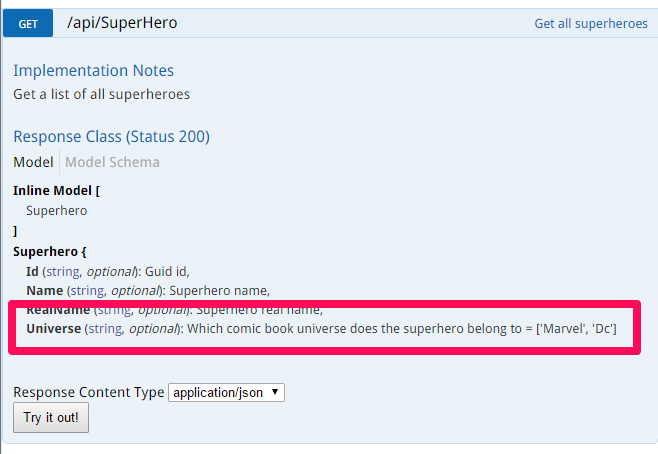
The XML comments are now used for enumerations:
This is one example of the options you have with Swashbuckle. Use the project site to learn more about the various options Swashbuckle offers.
Getting the Swagger JSON File
To see the actual Swagger file, navigate to the URL that is in the header of the Swagger UI documentation page.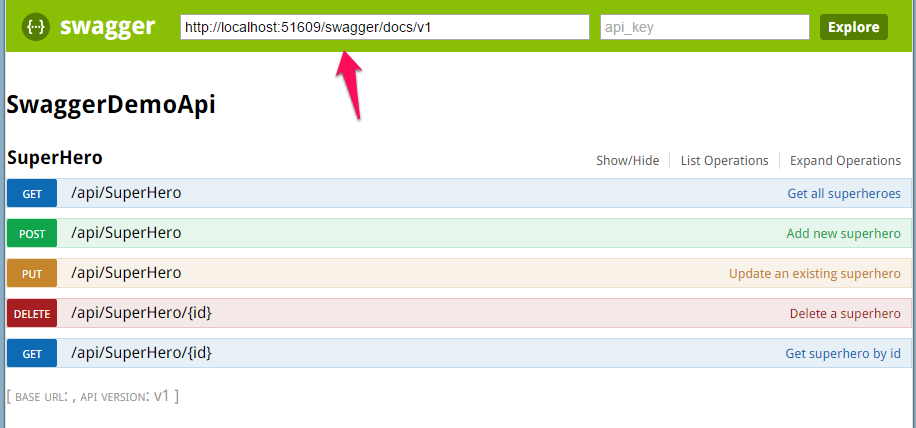
Using the Swagger File with the REST Broker
The Swagger file can be used in the Descriptor Location field when registering a REST broker service instance which, in turn, is for generating SmartObjects based on your API. For more information about the REST broker, see the Help topic REST Service Broker
