

Quick Guide to installing K2 smartforms
KB001330
PRODUCT
Introduction
This guide provides the software and hardware prerequisite details as well as the steps to install K2 smartforms in a standalone environment. The article will be updated with every release ensuring that the latest installation guideline is available.
| Note: From the release of K2 blackpearl 4.6.7 and K2 smartforms 1.0.6 onwards, see the K2 blackpearl Installation and Configuration Guide and the K2 smartforms Installation and Configuration Guide for this information. |
Step 1 - Install the prerequisites on your machine
You should have your environment built out with all the necessary prerequisites before installing K2 smartforms. This can be a virtual environment, using something like VMWare, or a physical environment. K2 smartforms 1.0.6 requires K2 blackpearl 4.6.7. For more information on the K2 blackpearl software requirements, please see the Compatibility Matrix.
Minimum hardware requirements and software prerequisites needed for K2 smartforms:
Hardware
| Component | Requirement |
| Hard Disk | K2 Designer Site SmartForms Runtime Site |
| Full K2 smartforms Installation | 200mb (extracted and installed 1GB) |
Software
| Server Components | Requirement |
| K2 blackpearl |
|
| Required for K2 Designer |
|
| Required for K2 smartforms Databases |
|
| Required for SmartForms Web Parts and SmartForms Task Wizard |
|
When using SharePoint Workflow Integration with customized Forms, Visual Studio's Web Deployment Projects is needed.
| Client Components | Requirement |
| Required for K2 Designer |
|
Double-click on Setup.exe.
This will launch the installer application, which will walk you through installing K2 smartforms.
Once the K2 smartforms Setup Manager is launched, a wizard will walk you through the necessary screens to install and configure K2 smartforms.
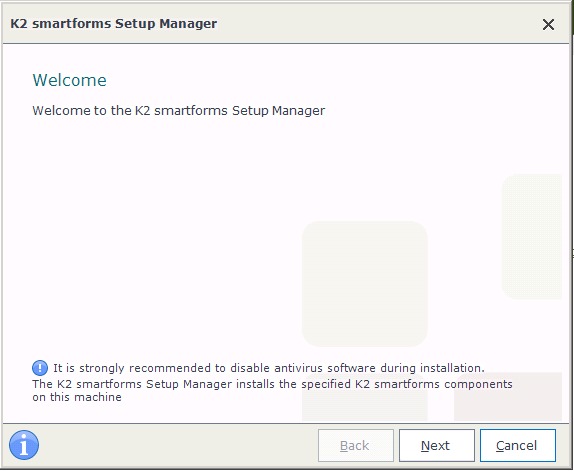
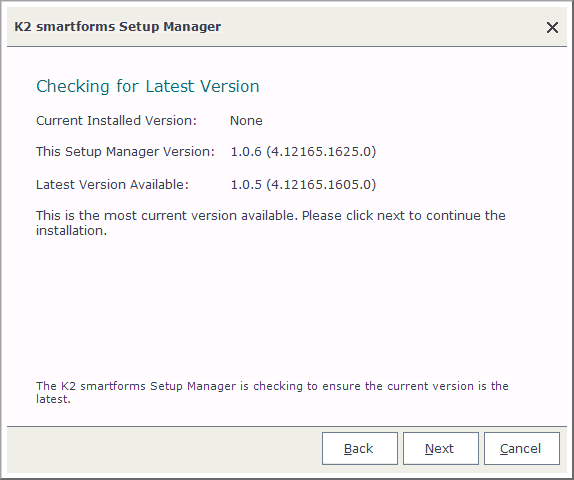
Once the Welcome screen has been displayed, the K2 installer will verify with online resources whether the version being installed is the latest version. Although the latest major version may be the version being installed, there may be an update which includes enhancements or fixes.
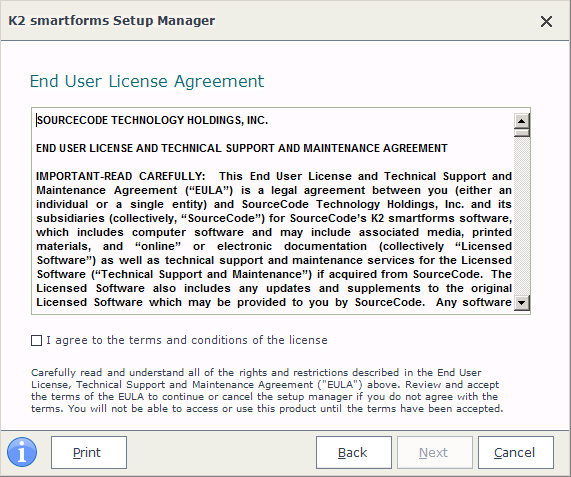
The next screen is the End User License Agreement. Please read through the agreement to understand the K2 smartforms license agreement. You can print this agreement for your records. Be sure to select the “I agree” option in order to proceed with the installation.
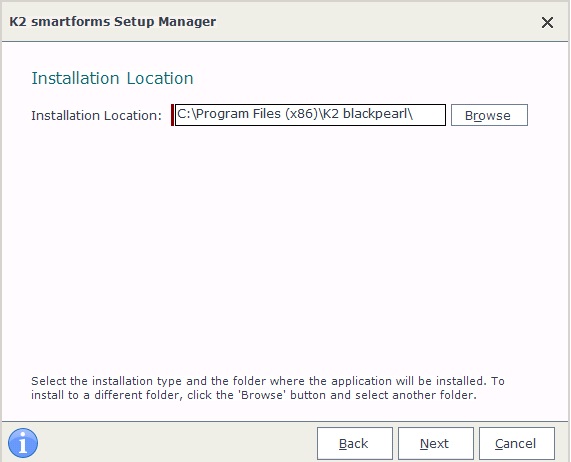
The next screen is the Installation Location screen and will only appear if the Setup Manager is unable to determine the install path automatically. The Installation Location text box will show the location where the K2 blackpearl application is installed. The default is under C:Program FilesK2 blackpearl, but you can browse to a new location if you wish.
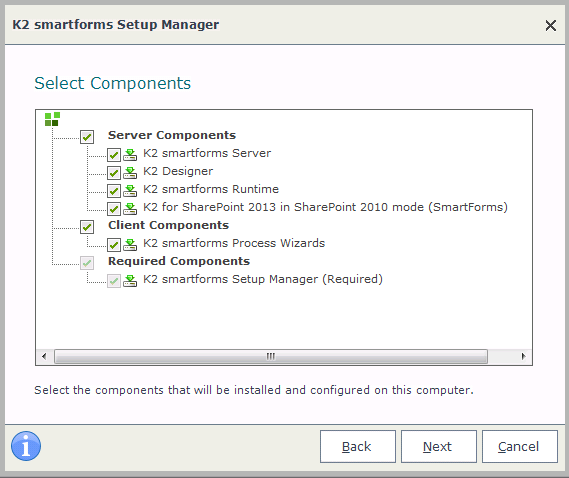
The Select Components screen will display to allow you to select the various server and client components you wish to install. If you do not have a prerequisite installed, the component will show a “Check Dependencies” item. Cancel the installer and fix the prerequisite, then start the installer again. You can select the appropriate components by checking the box next to each component. For more details on supported architectures, refer to the K2 smartforms documentation.
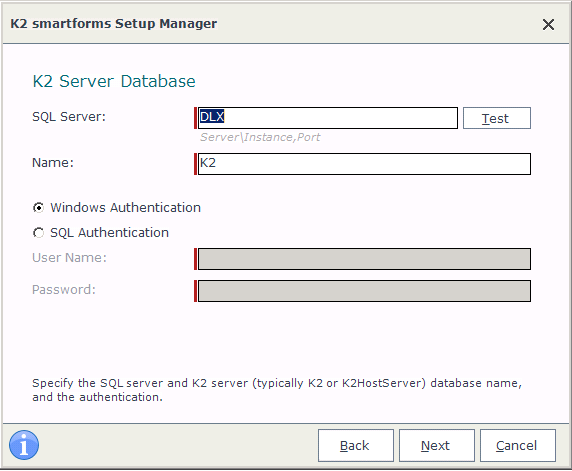
Next on the K2 Server Database screen, select the SQL Server and database name where the K2 blackpearl Host Server database is installed, as well as the authentication type. You can test this connection by clicking on the Test button.
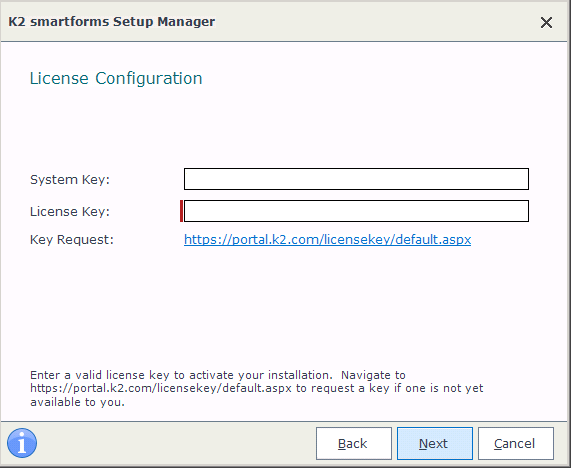
On the License Configuration screen, insert the License Key. Be sure to type in the information exactly. If you have not requested a key yet, you can click on the Key Request link to go out to portal.k2.com and register for a 30-day trial license for K2 smartforms. If you have purchased a license for K2 smartforms, go to the Customer and Partner portal and request your license key.
The K2 Designer Web Site configuration screen appears. This screen allows you to enter in the K2 smartforms Web Site. If you do not have a K2 smartforms Web Site created, you can type the name of a web site into the textbox and K2 will create it for you. This will be the design time site. The Bindings button will let you see the bindings in use and which is selected as the default.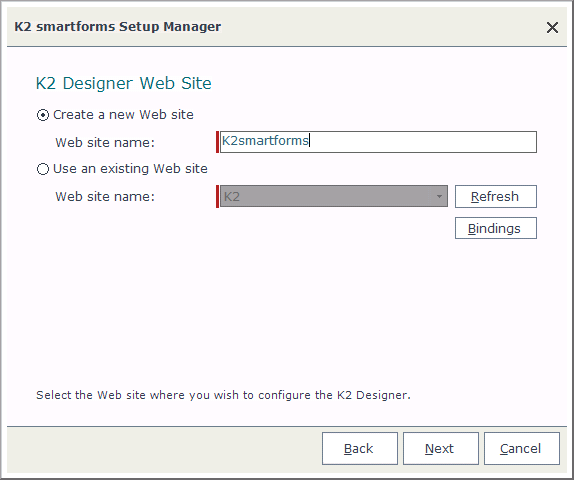
The Application Pool screen allows you to use an existing application pool or to create a new application pool. The selected Application Pool account's Managed Pipeline mode must be set to Integrated and the .NET Framework version should be set to use .NET Framework 4.5 (displayed as .NET Framework v4.0.30319 in IIS). If an Application Pool is selected that's Managed Pipeline is set to Classic mode a warning message will be displayed to inform the user that K2 will change the mode to Integrated. However, if other applications are dependent on the same Application Pool K2 will not change the mode but will rather inform the user that a new Application Pool needs to be created. 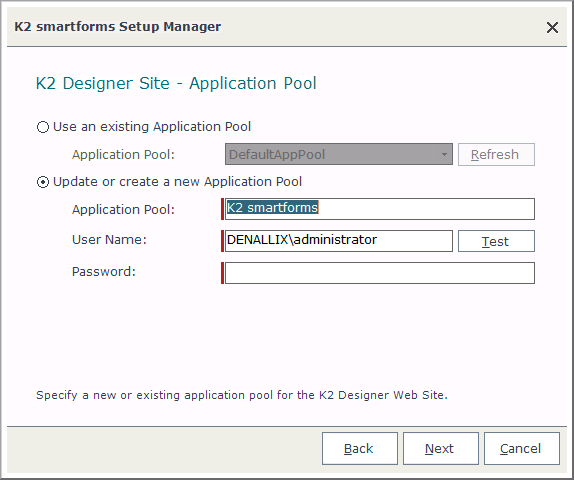
The SmartForms Runtime Site configuration screen appears. This screen allows you to enter in the SmartForms Runtime Site. If you do not have a SmartForms Runtime Site created, you can type the name of a web site into the textbox and K2 will create it for you. The Bindings button will let you see the bindings in use and which is selected as the default.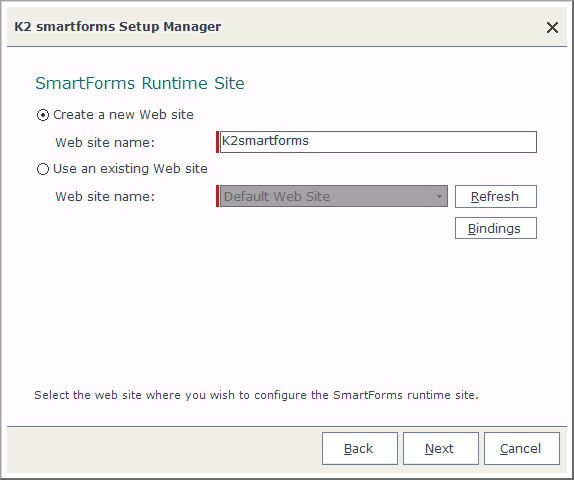
The Application Pool screen allows you to use an existing application pool or to create a new application pool. The selected Application Pool account's Managed Pipeline mode must be set to Integrated and the .NET Framework version should be set to use .NET Framework 4.5 (displayed as .NET Framework v4.0.30319 in IIS). If an Application Pool is selected that's Managed Pipeline is set to Classic mode a warning message will be displayed to inform the user that K2 will change the mode to Integrated. However, if other applications are dependent on the same Application Pool K2 will not change the mode but will rather inform the user that a new Application Pool needs to be created.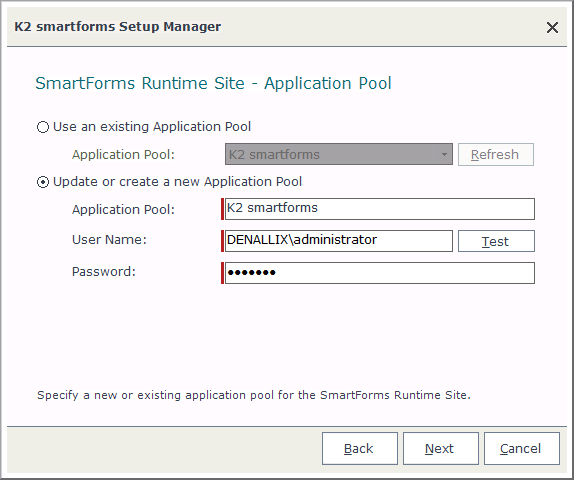
The next screen begins the configuration information for your K2 environment. Based on the components you selected, the screens may or may not appear. The Configuration Summary screen will list all of the information you entered in the K2 smartforms Setup Manager. Be sure to scroll through the information and make sure that everything is accurate. You can also print this information for your records, or copy the information to the clipboard to insert into a document. Once you’ve reviewed the information, click Next to continue.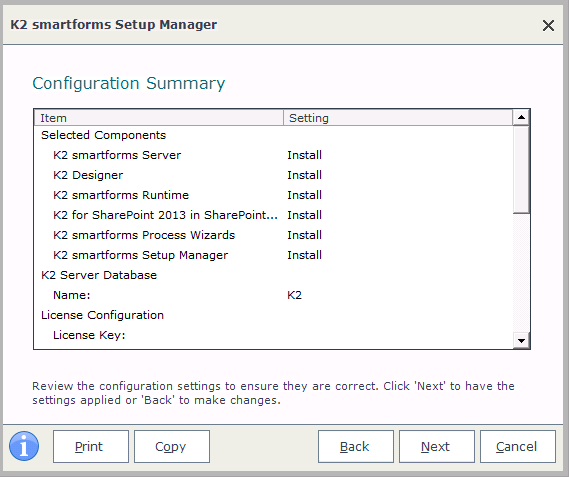
If there are any necessary steps to complete before the installation can proceed, you will see the Additional Actions screen. This will list the actions that can be performed automatically by the setup manager, such as an IISReset. If there are any actions that need to be performed manually, they will also be listed here. Be sure to complete the action, then come back to the setup manager and refresh the list. Click Next for the actions to be performed and for the installation to proceed.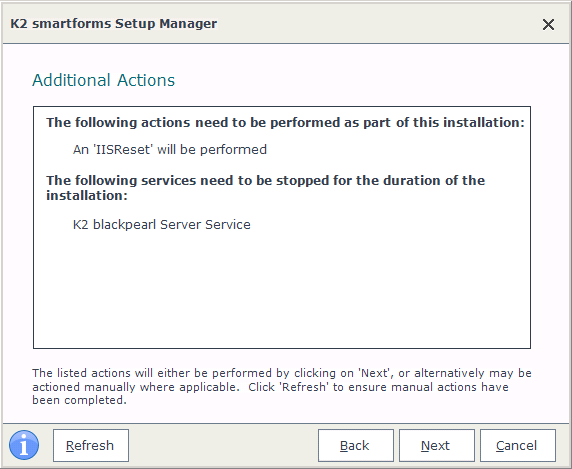
After clicking Next, the components will install. The progress bar will show you the status of each component, as well as the total progress. Installing may take a few minutes, depending on your environment.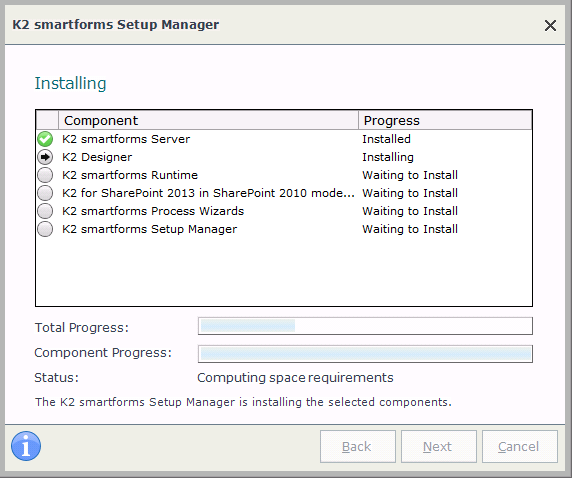
Once all the components have been successfully installed, you will see a Configuration Status screen. The setup manager will now apply your settings to all of the K2 components. The progress bar will show you the status of each component, as well as the total progress. Configuring may take a few minutes, depending on your environment.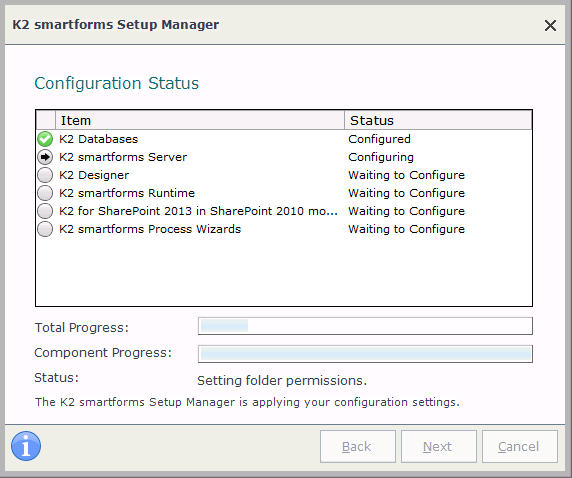
The Configuration Analysis screen is displayed once the Configuration Status screen has completed. The K2 Configuration Analysis Tool is an automated system analysis tool that will be available post installation if errors are detected. Owing to the complex nature of target environments and the large number of possible environments where a K2 smartforms installation may take place, the tool's primary role is to provide visual representation of the component that has encountered an error catering to most possible scenarios. This enables the individual performing the installation to troubleshoot the error at the time of installation.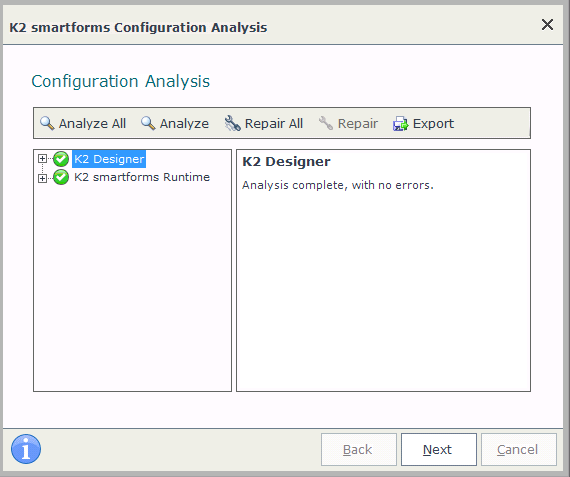
Once the K2 smartforms setup has completed, you will see the Finished screen. There will be a link to the log file that was created, as well as information if any errors were encountered during configuration. Clicking Finish completes the installation process.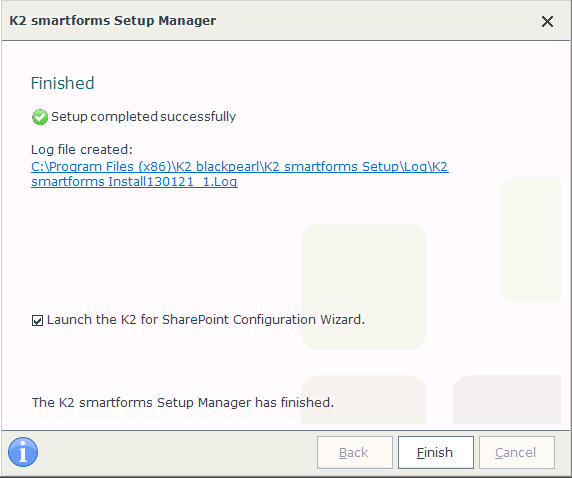
Important Note: The Launch the K2 for SharePoint Configuration Wizard check-box will only be available if SharePoint 2010 is installed and detected by the Setup Manager. The following steps will not be necessary if SharePoint 2013 is installed. For SharePoint 2013 information, see the documentation for the K2 for SharePoint 2013 App.
The K2 Setup Manager will automatically open the K2 for SharePoint Configuration wizard. This wizard assists in the installation and deployment of the K2 SharePoint solutions as well as the activation of K2 Features. The wizard will give you the option to configure SharePoint by stepping through the wizard or to manually install, deploy and activate solutions and features.
Note: The SharePoint Configuration wizard can be accessed after the installation through the Start> K2 blackpearl> K2 for SharePoint Configuration Wizard link. 
Selecting to use the K2 for SharePoint Configuration wizard option and selecting Next will initiate a prerequisite check. If the prerequisites are not met the status will display a red circle with a white cross. Manually rectify the issue and click the Refresh button. Once all the prerequisites are met the Next button will be available to continue the configuration. 
The next step in the configuration wizard installs the SharePoint Solutions on the current server. Click Next to start the installation process. Once all the solutions are installed the page will refresh showing the Status as Not Installed. 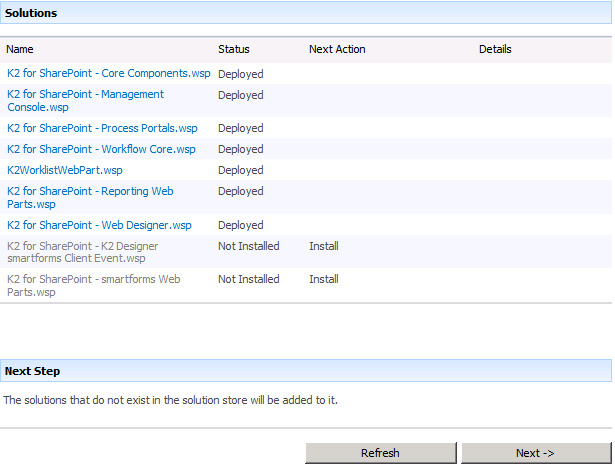
Select Next to start the deployment of the solutions. The solutions are scheduled at predefined intervals for deployment. Each Solution’s status will update to Deployed once the deployment is complete. 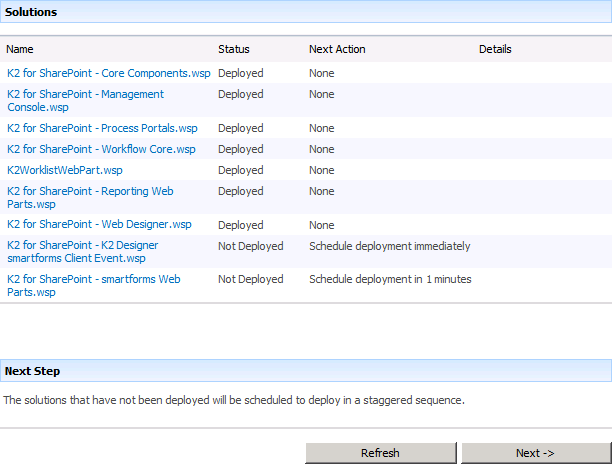
Note: The page will refresh showing all the solutions as deployed and will display the Next Step at the bottom of the page. Click next to complete the Post Deployment Configuration. 

Selecting the first option will open the Activate All K2 Features and K2 Configuration Settings page. On this page select the Site Collection from the drop down list and click OK.
Note: The Features are activated per Site Collection, so for multiple Site Collections this step will need to be repeated, selecting the relevant Site Collection from the drop down list. 
Once the K2 Features have been activated the K2 for SharePoint page will open allowing the management of Solutions and Features. This completes the installation of K2 smartforms. 
You have successfully installed and configured K2 smartforms. Now start designing your forms in the K2 Designer. To open the designer select Start> K2 blackpearl> K2 smartforms> K2 Designer. 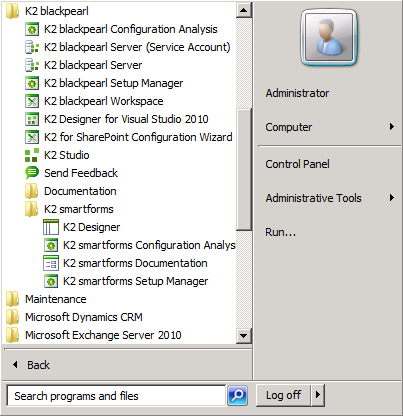
Once the K2 Designer has opened in the browser design SmartObjects, Views, Forms and Workflows.
