How to enable logging for K2 Server
LEGACY/ARCHIVED CONTENT
This article has been archived, and/or refers to legacy products, components or features. The content in this article is offered "as is" and will no longer be updated. Archived content is provided for reference purposes only. This content does not infer that the product, component or feature is supported, or that the product, component or feature will continue to function as described herein.
This article explains how to enable the trace file for K2 server
| The standard method of monitoring / debugging the K2.net Server is to run it in console mode. The alternative to this method is to configure the K2.net Server to write its activity to a trace file, which is a plain text based log file. |
| |||
|
| |||
Follow the steps below to enable the "Trace" feature: | |||
| 1) | Open the K2.net Service Manager | ||
| 2) | Locate the server that you would like to enable logging on | ||
| 3) | Right-click on the server and select "Properties" | ||
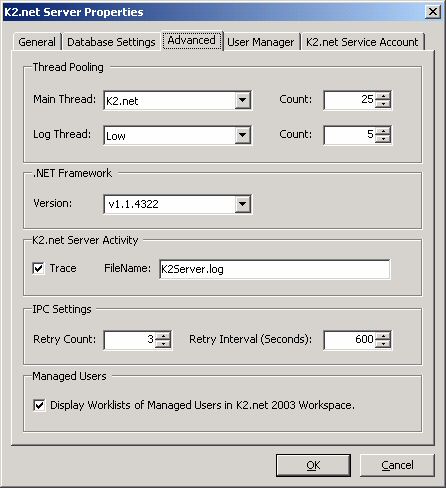
| 4) | On the "Advanced" tab of the "Properties" window, enable the "Trace" check box | ||
| | |||
| 5) | Click "OK" to save the changes | ||
| 6) | Right-click on the server and select "Stop" to stop the server service | ||
| 7) | Once the service has stopped, right-click on the server and select "Start" to restart the service | ||
| 😎 | You will now be able to find a "K2server.log" file in the following directory on the K2 Server: "<drive letter>:Program FilesK2.net 2003in" | ||