

How to use workflow properties as output mappings
KB001442
PRODUCTK2 smartforms
LEGACY/ARCHIVED CONTENT
This article has been archived, and/or refers to legacy products, components or features. The content in this article is offered "as is" and will no longer be updated. Archived content is provided for reference purposes only. This content does not infer that the product, component or feature is supported, or that the product, component or feature will continue to function as described herein.
Introduction
The latest How To topics are available in the K2 Five User Guide or the K2 Cloud User Guide’s How to section.
Output mappings have been added to the Start the Workflow rule action. In addition, the workflow properties have been enhanced to include properties such as Originator details, Priority, Start Date, View Flow URL and more. These fields can now be used as output mappings in the Start the Workflow action and the Open the worklist item action.
Implementation Details
The workflow properties are available in the output mappings tab when configuring the Start the Workflow action and the Open the worklist item action.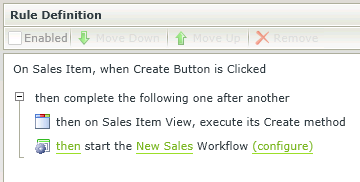
Example Scenario
In the scenario below we are using a Form with two Views and three Form controls. When the user clicks on the Create button, the Form controls will be populated with the workflow information.
Follow the steps below to set up the scenario:
- Create an Item View and a List View using any information
- Create a Form containing these two Views.
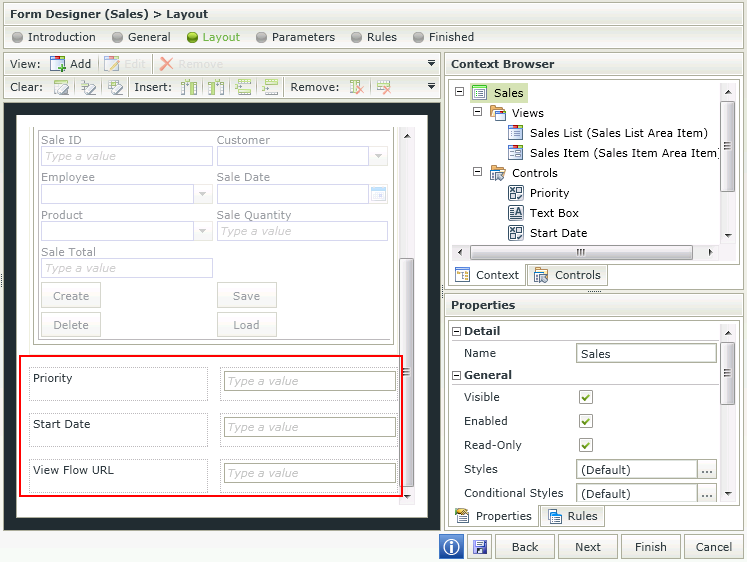
- Add three label controls to the Form and next to the labels three Text Box controls
- Save the Form
- Create a workflow that will start when the Create button is clicked on the Item View
- Complete the workflow with relevant data and deploy the workflow
- Open the Form and navigate to the Rules
- Select the applicable state that is used for the start action and edit the rule On xxx Item, when Create Button is Clicked
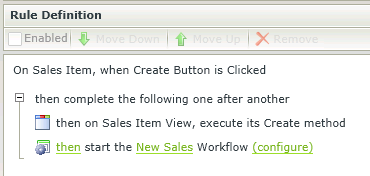
- Click on configure next to the then start the xxx Workflow action
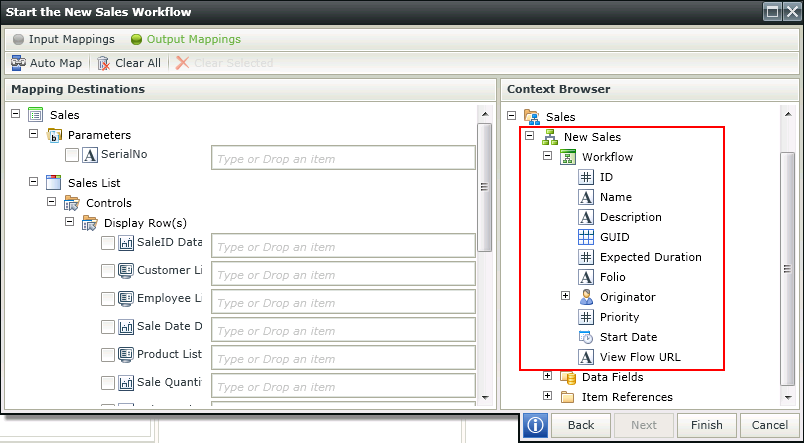
- Click on the Output Mappings tab at the top
- Drag the Priority, Start Date and View Flow URL fields from the context browser into the text boxes created previously as shown below
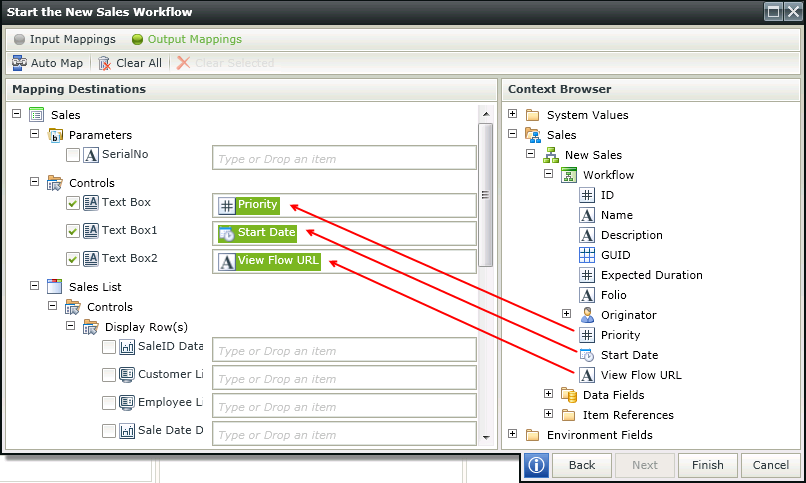
- Click Finish and Finish again to save the rule
- Click Finish to save the Form
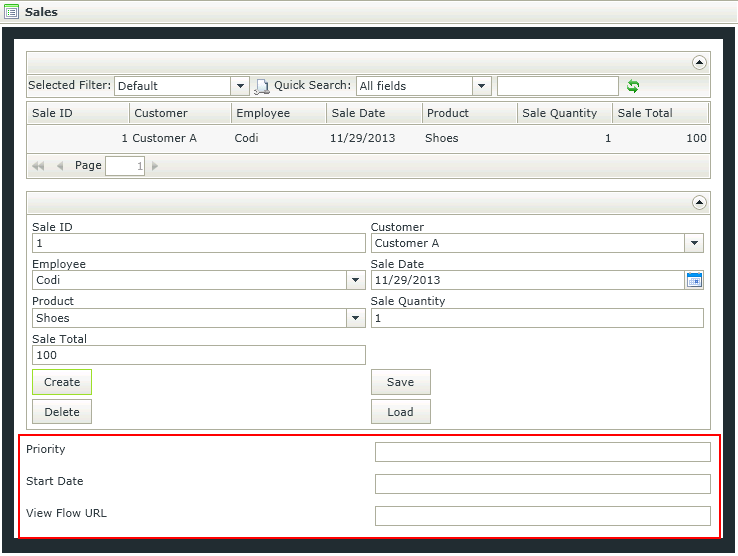
- Run the Form and complete information on the Form
- Note that the three controls at the bottom are empty at this stage
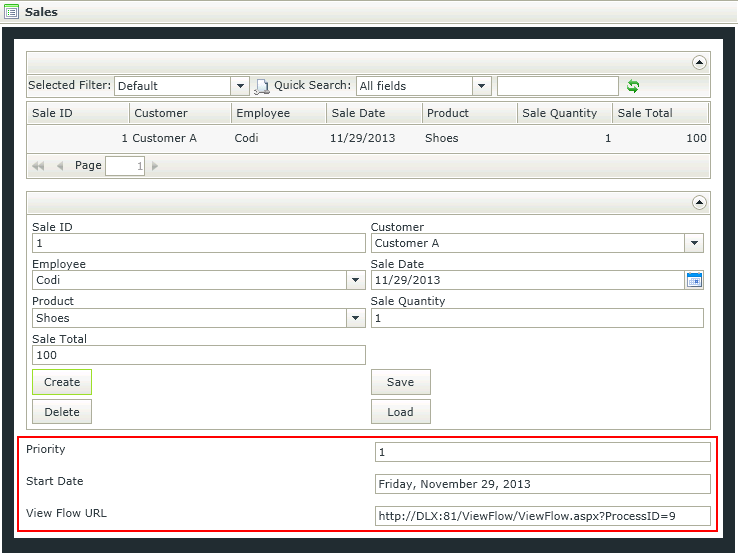
- Click the Create button
- Note that the three controls are populated with the workflow information
The same principle can be applied to the Open the worklist item action
