

Getting Simultaneous Approvals from Both Named Users and Roles
KB000326
PRODUCTK2 blackpearl
TAGSK2 Designer for Visual Studio
LEGACY/ARCHIVED CONTENT
This article has been archived, and/or refers to legacy products, components or features. The content in this article is offered "as is" and will no longer be updated. Archived content is provided for reference purposes only. This content does not infer that the product, component or feature is supported, or that the product, component or feature will continue to function as described herein.
Introduction
In this article, a scenario is described where for a client event, all the named destination users in the destination set approve the activity. At the same time, a role has been specified and at least one (1) of the users from the role must approve as well.
The approval rule logic would resemble the following:
The approval rule logic would resemble the following:
Client Activity is Approved WHEN all individual approvers approve AND at least one of role approvers approve.
The approval scenario described here, was difficult to implement in K2.net 2003 without splitting the approval process into 2 separate client activities. The same scenario can now be achieved by using the following settings in K2 blackpearl. The scenario below which has been tested to be functionally working, will demonstrate how this can be done in one activity by implementing the following settings.
| Notes:
|
Steps
Two separate setup steps are described below.
Test your process and the above settings will require all named individual users to approve plus at least one (1) of the users in the role to approve as well.
Destination Rule Configuration
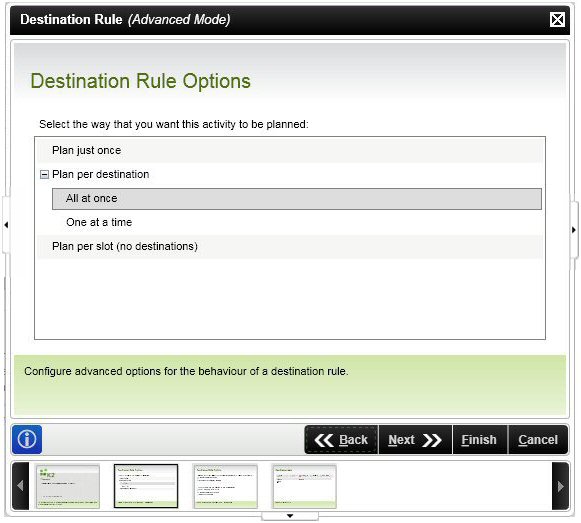
- Select Plan per destination > All at once
- Select Create a slot for each destination and also select Create a slot for each role and group

- Two possible methods at this point
- Add the users that need to approve the activity and also specify the role that you need the approval from. In this example the role is called TestRole.
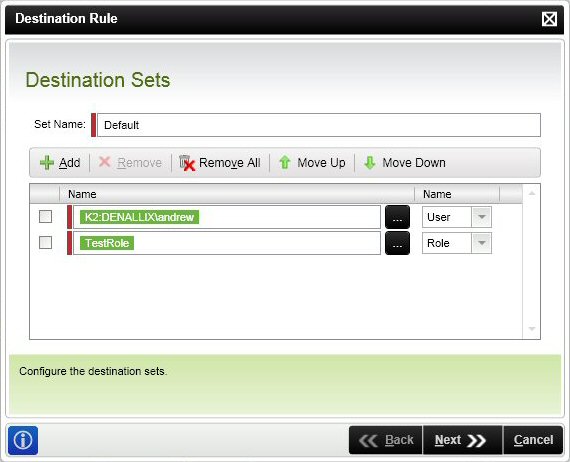
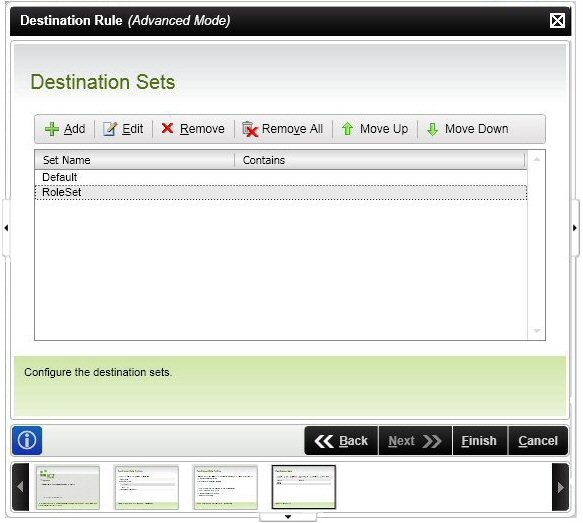
- The second option is to add the individual named users into the Default destination set and add your role into a new destination set (in the example image called RoleSet). This has a similar effect but the difference is that you can apply rules to your Destination Sets to control which sets of users and roles need approval.
- Add the users that need to approve the activity and also specify the role that you need the approval from. In this example the role is called TestRole.
Client Event Rules Configuration
- Configure your client event outcome rules. Run the client event wizard and go to the Configure Outcomes screen.
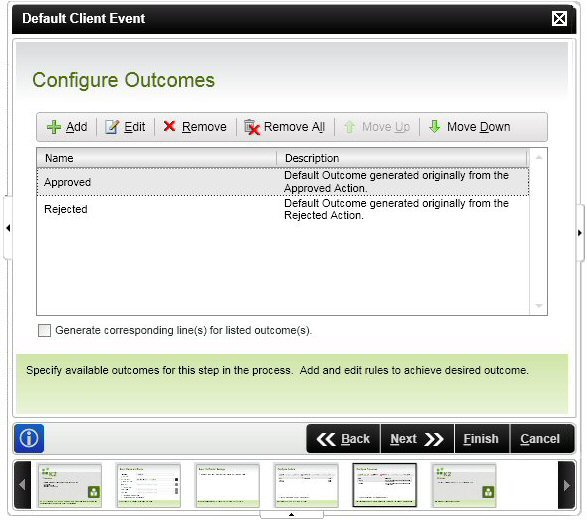
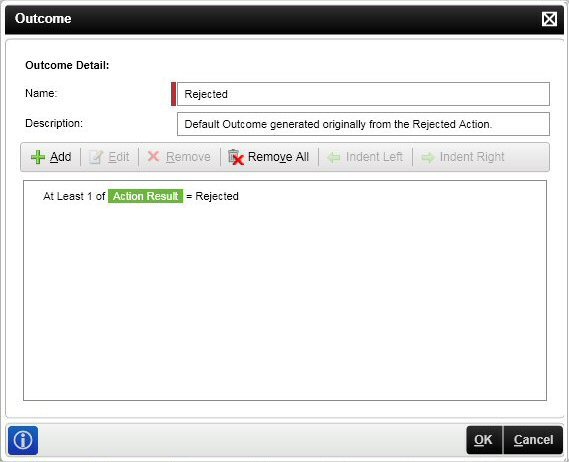
- For the rejected path, we will assume our rule is to route to Rejected stage if any of the users reject the work item. The rule should indicate At Least 1 of Action Result = Rejected.
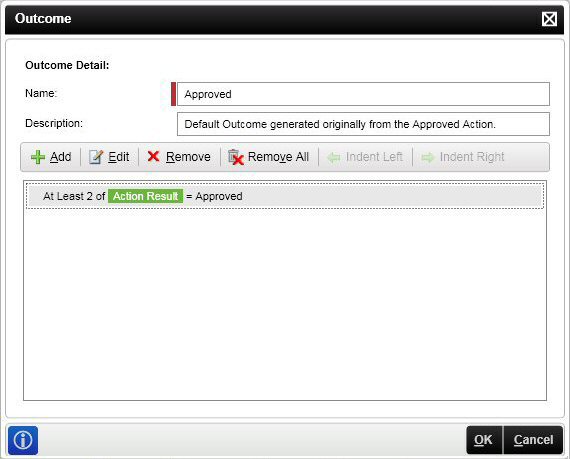
- Configure the approval rule to check that the Action Result of at least (Number of individual Approvers) + 1 must be Approved. In the case above, only one individual approver is required so it has been set to At Least 2 of Action Result = Approved.
Test your process and the above settings will require all named individual users to approve plus at least one (1) of the users in the role to approve as well.
