How to use the Item Reference Field in the CRM Event Wizard
KB001337
PRODUCT
Introduction
The Item Reference Field in the CRM Event Wizard can be used to update a CRM Entity after it’s been created. This would mean that the id of the CRM Entity is not required as the Item Reference can be selected to update the Entity. The Item Reference node in the Context Browser can be expanded to see the references. This can then be used to update some of the Entity’s values. This Knowledge Base article describes how to use the Item Reference Field in the CRM Event Wizard to update a CRM Entity’s value.
Implementation
Follow the steps below to create and update an Entity using the Item Reference Field of the CRM Event Wizard:
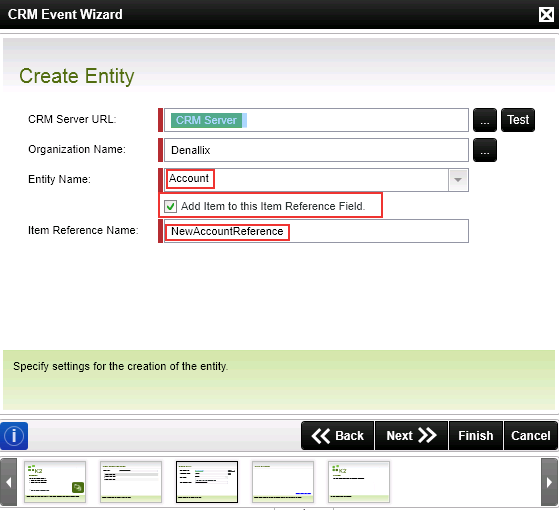
- When creating an Entity through the CRM Event Wizard, select the option to Add Item to this Item Reference Field and provide an Item Reference Name as shown below. This will enable the Item Reference Field to be used when updating or deleting a CRM Entity.

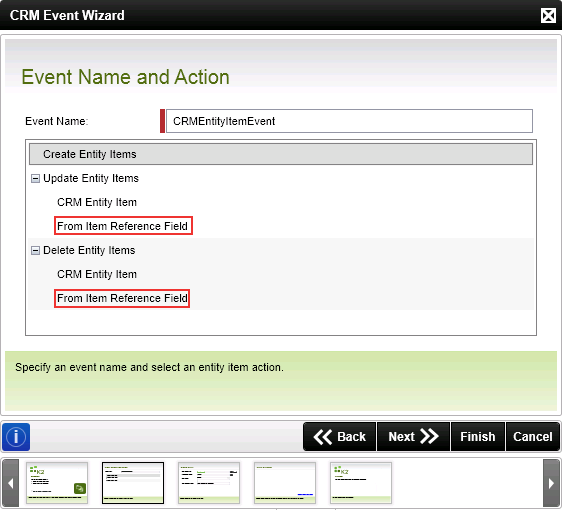
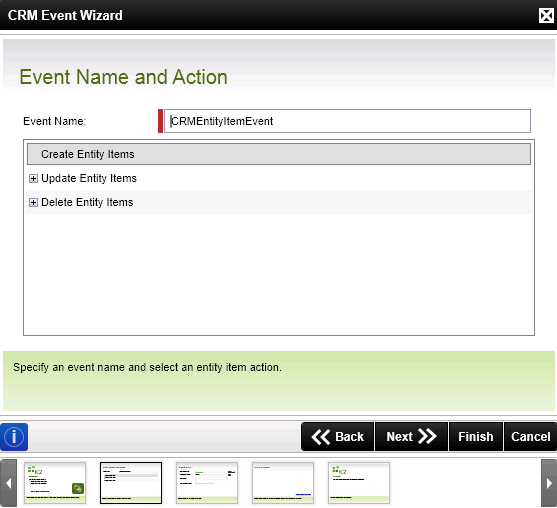
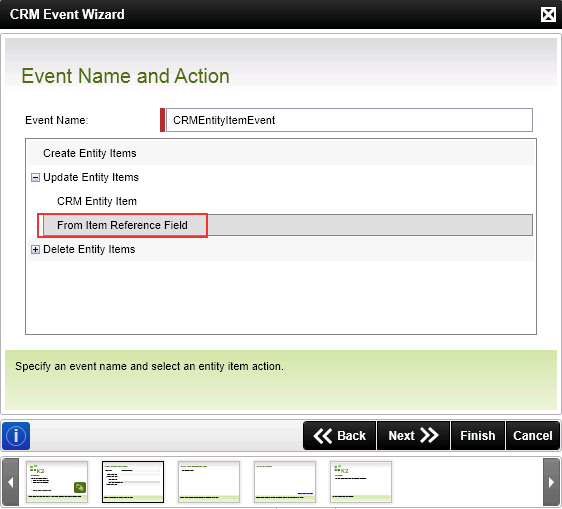
- The Item Reference Field in the CRM Event Wizard is available under the Update Entity Items and Delete Entity Items nodes on the Event Name and Action wizard screen. Select to update or delete From Item Reference Field.
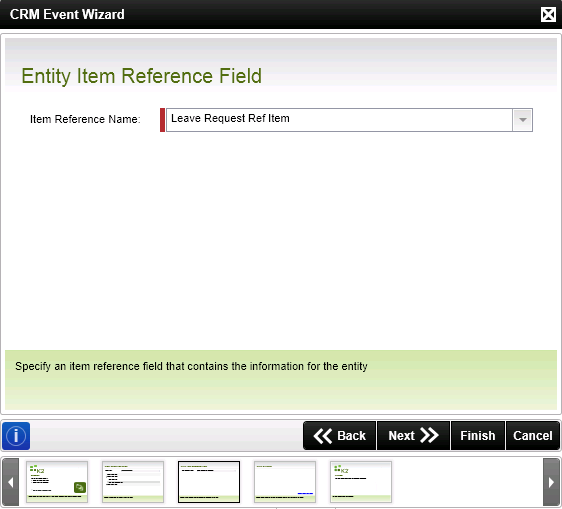
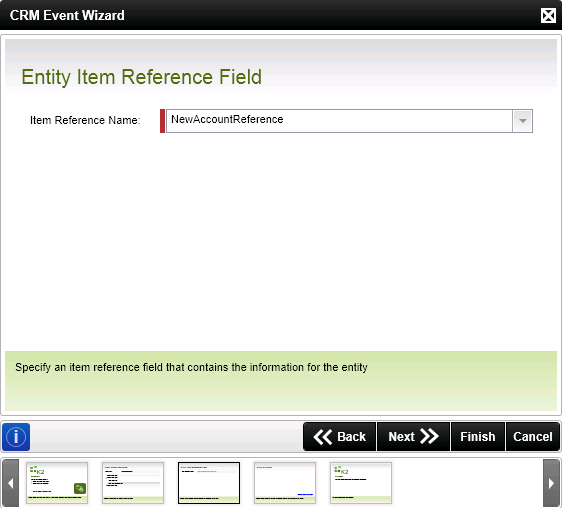
- Select the Entity Item Reference Field previously created.
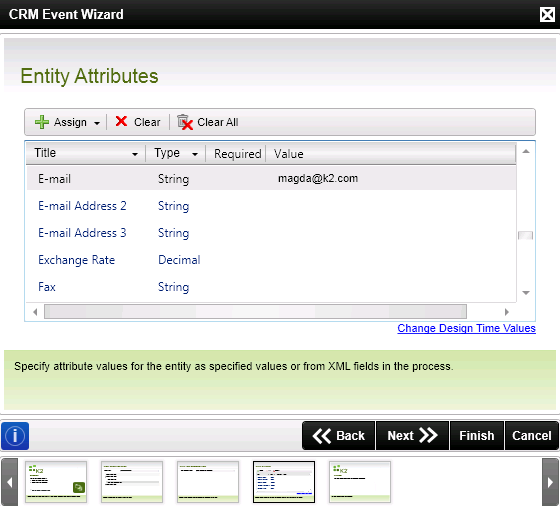
- Specify the value of the Entity to be updated.
Example Scenario
We are using a scenario that is based on a K2 Studio process which is integrated with a SharePoint List. A CRM Account Entity is created when a new item is added to the New Account SharePoint List and the entity’s E-mail information is subsequently updated. Follow the steps below to implement the scenario.
- Create a SharePoint Custom List and name the list New Account
- For this scenario the New Account list will be used to create a new CRM Account.
- Add a text column to the New Account list and name the column Account Name.
- Open K2 Studio and create a SharePoint Workflow Integration process linked to the New Account list created in SharePoint.
- Drag the CRM Event Wizard onto the canvas.
- Select to create an entity item, click Next.
- Select Account from the Entity Name drop-down list, then select to Add Item to this Reference Field and provide a name for the reference field as shown below. Click Next.
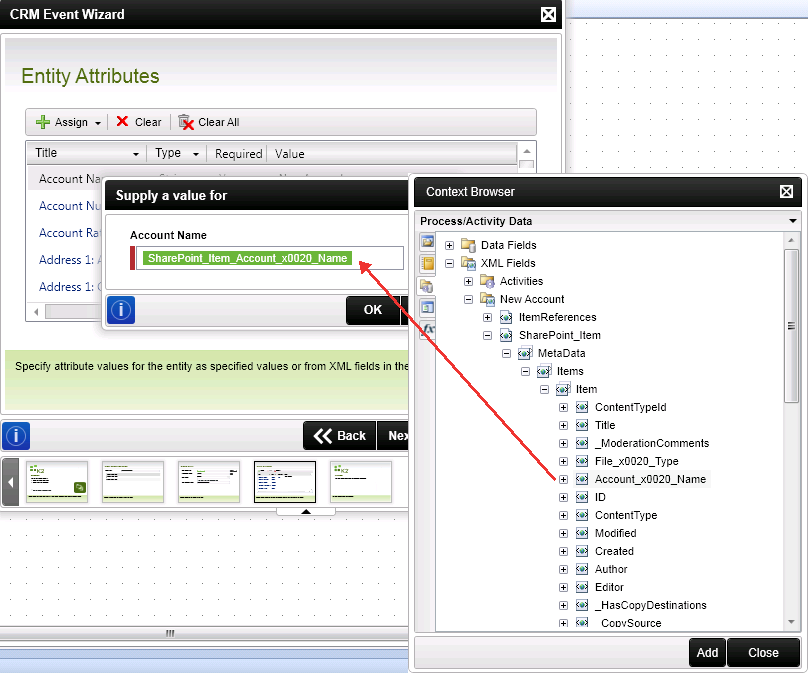
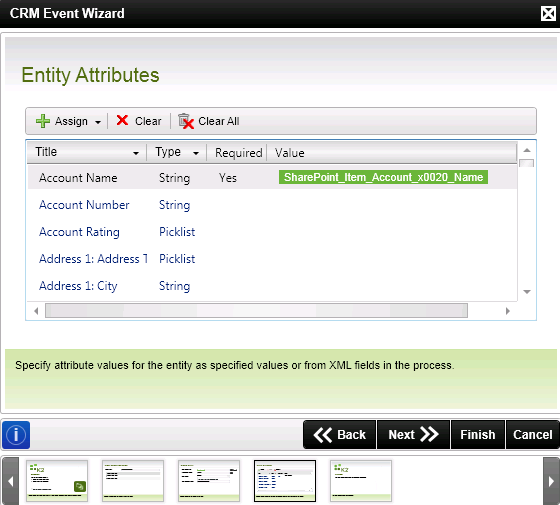
- On the Entity Attributes screen, double click the Account Name attribute and add the Account Name SharePoint item in the XML Fields node. Finishthe wizard.
- Drag the CRM Event Wizard onto the canvas again and select to update an entity item From Item Reference Field. Click Next.
- Select the Item Reference as created in step 7. Click Next.
- On the Entity Attributes screen, scroll down to the E-mail attribute. Double click the field and supply a valid E-mail address for the new account. Click OK.
- Click Finish.
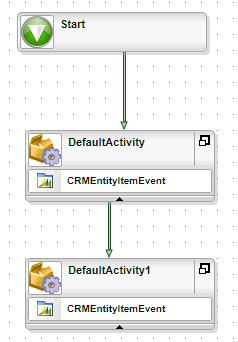
- Connect the two activities by right-clicking and drag a line from the top activity to the bottom activity. The workflow should resemble the following:
- Save and deploy the process.
- Start an instance of the process by adding a new item to the New Account SharePoint list.

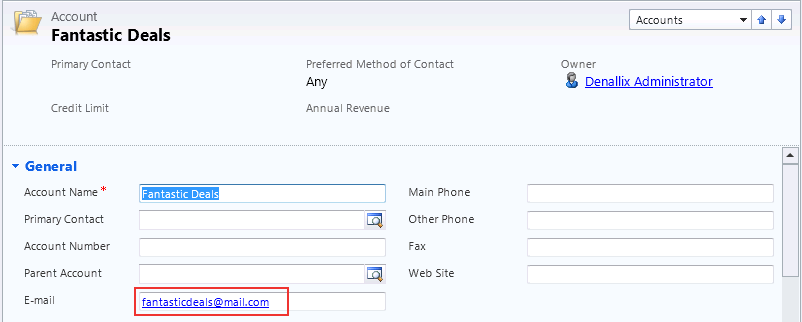
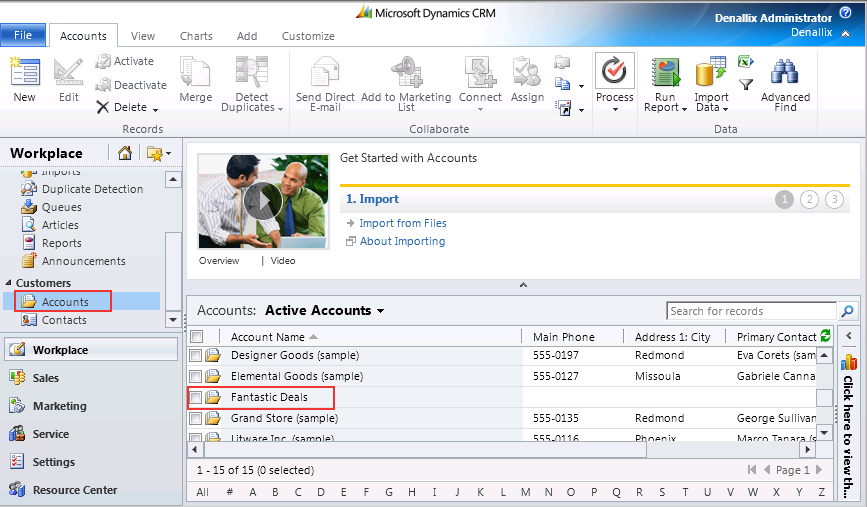
- Open Microsoft Dynamics CRM and navigate to the Accounts section. Note that the new account has been added.
- Open the new account and note the E-mail address has been updated.