

Creating a Salesforce REST Endpoint
KB003518
DOWNLOADS: See Example Salesforce REST Swagger file belowPRODUCT
Salesforce OData calls may be slow, resulting in timeouts and other errors such as an “A Task was Cancelled” error. It may take 20 to 40 seconds for a response. Salesforce sends an entire object collection via OData (not just the requested data) and that object collection is then filtered to get the data requested by the SmartForm or workflow.
To work around this performance issue, you can use the Salesforce REST API instead, since it performs faster than the ODATA API. You can create a K2 REST Service Instance that connects to your Salesforce Connected Apps REST API. You then create your Salesforce SmartObjects using the REST service and use these SmartObjects in your K2 solutions.
For background information on integrating with REST services in K2, please see K2 REST Endpoint in the K2 User Guide
There are three main steps to create a SalesForce REST Service Instance:
- Create a SalesForce Connected App
- Register a new SalesForce Feature Instance in K2
- Create a new Service Instance of the REST Service Type in K2, and use the OAuth Resources generated by the Feature Instance
Prerequisites
- A Salesforce.com login with permissions for all the data to pass to K2
- A Salesforce Connected App enabled with OAuth with the following scopes
- Full access
- Perform requests on your behalf at any time (refresh_token, offline_access)
- OAuth Client ID (obtained from SalesForce when you create the connected app)
- OAuth Client Secret (obtained from SalesForce when you create the connected app)
- A Swagger file to represent the entities in Salesforce that you want to interact with.
You can use Dropbox, but then remember to amend the DL parameter to DL=1.
Create the Salesforce Connected App
Follow these steps to configure your Salesforce Connected App:
- Log into Salesforce.com.
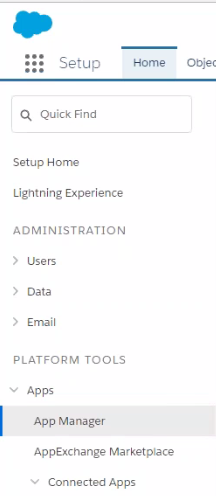
- In the Salesforce setup platform tools menu click Apps > App Manager.
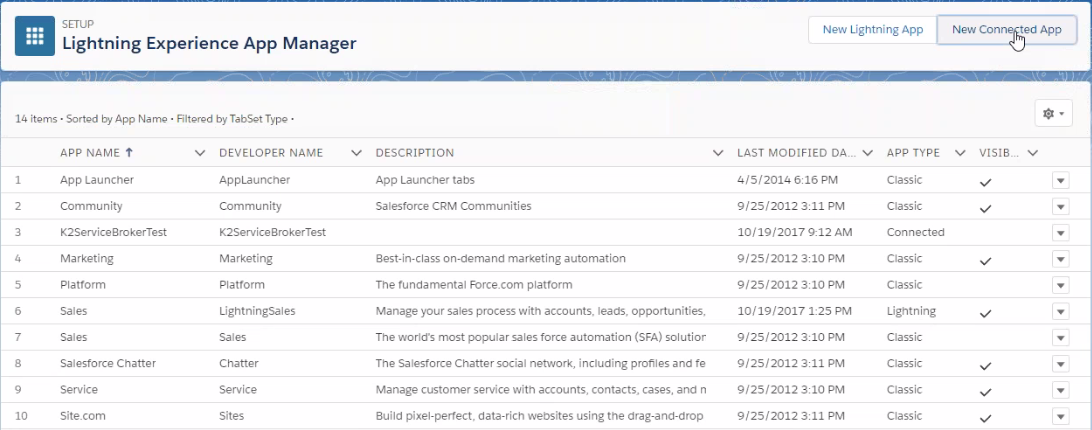
- Click New Connected App.
- Specify values for the required fields.
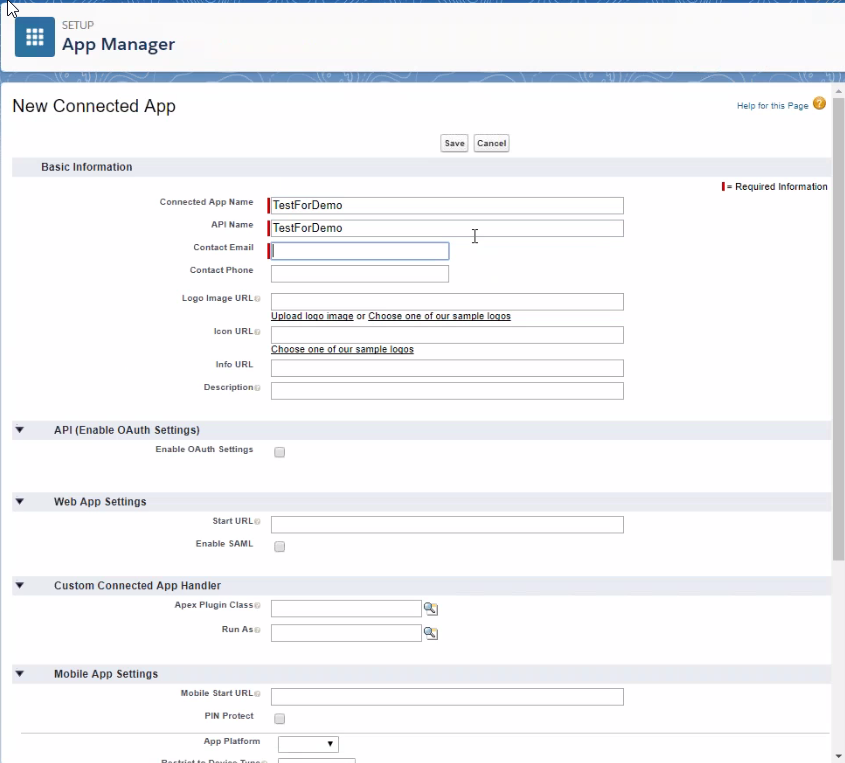
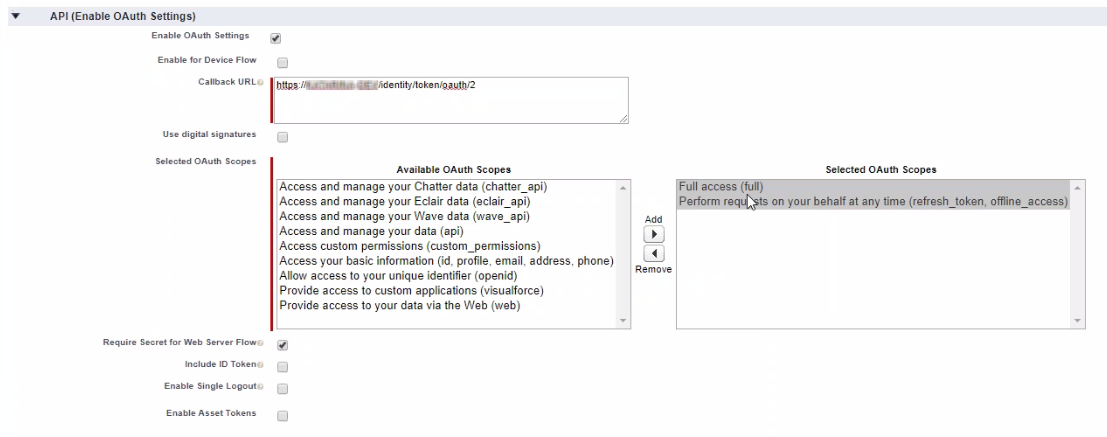
- Check the box to enable API (enable OAuth Settings) and specify the OAuth Redirect URL as the Callback URL. You create your connected app in Salesforce first, but the value of the Callback URL for your K2 system comes from the Salesforce Add Feature Instance page, so open a K2 Salesforce Add Feature Instance page during this step to get the OAuth Redirect URL. In this example it is https://sa-k2-current.denallix.com/identity/token/oauth/2
- Add the following OAuth Scopes:
- Full access
- Perform requests on your behalf at any time
- Save the new connected app (you may get a message about needing to wait a few minutes for your changes to take effect).
- Click Continue.
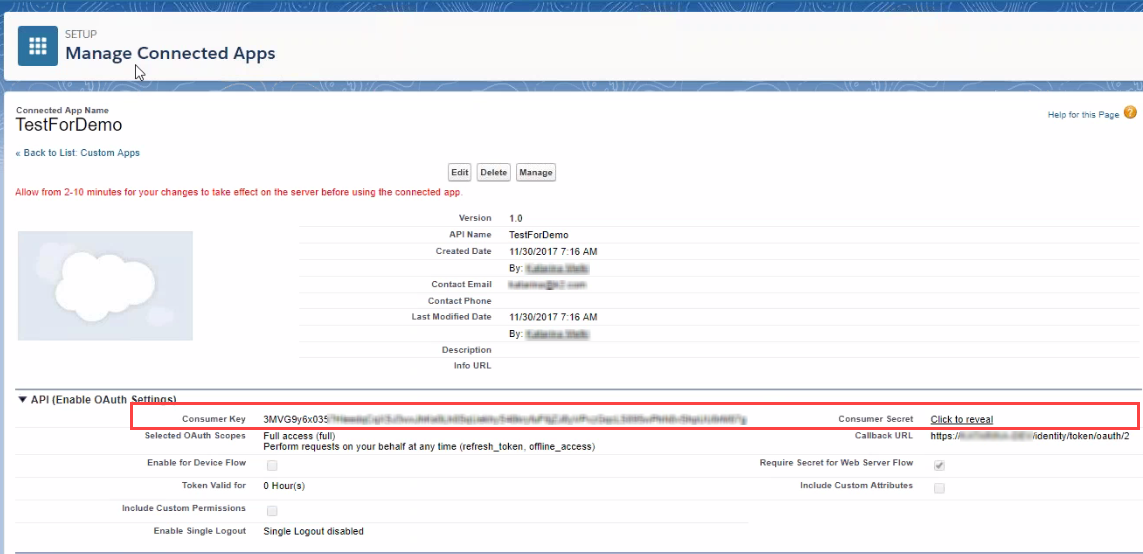
- You now see the Connect App summary screen. If you see an error message from Salesforce wait a few minutes and refresh the page.
- Copy the Consumer Key (needed for the OAuth Client ID).
- Click the Consumer Secret link and copy it (needed for the OAuth Client Secret).
Add a Salesforce Feature Instance
Follow these steps to create a new Salesforce Feature Instance in K2. Creating a Feature Instance will create an OAuth resource in your K2 environment that you can use when registering a Service Instance fo the REST Service Type.
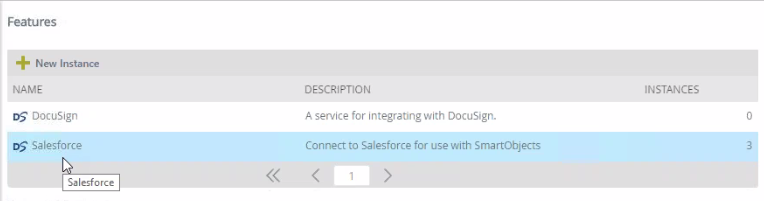
- Open the K2 Management Site and navigate to Features
- Select the Salesforce feature and click New Instance.
- Enter the name and description for your new Salesforce instance.
- Enter the OAuth Client ID and OAuth Client Secret that you obtained from SalesForce when you created the SalesForce Connected App.
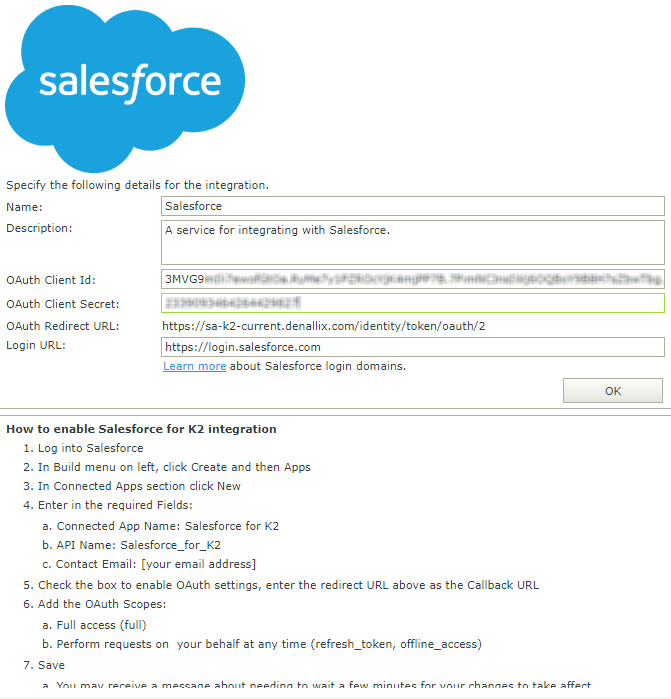
- Enter the Login URL (See Login Domains).
- Click OK.
- The Add Feature Instance page authenticates with the Salesforce Connected App. You may need to provide your credentials during this process.
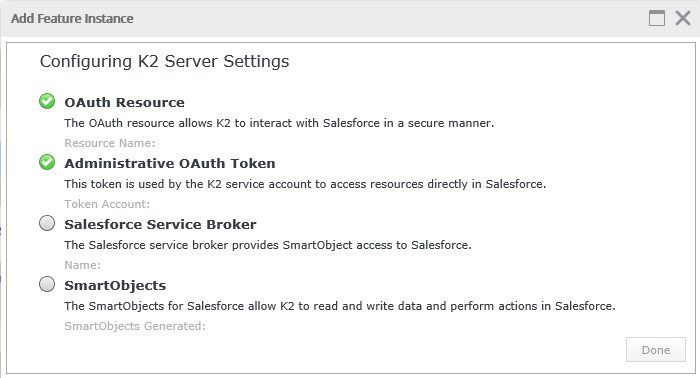
A Salesforce Service Instance is created.
Create a Salesforce REST endpoint in K2
Create a REST Service Instance, and use the Salesforce OAuth resources that were created when you set up the Salesforce Feature Instance. You will need to provide a link to a Swagger file that represents the SalesForce entities you want to work with. Refer to the sample Salesforce swagger json file to get started.
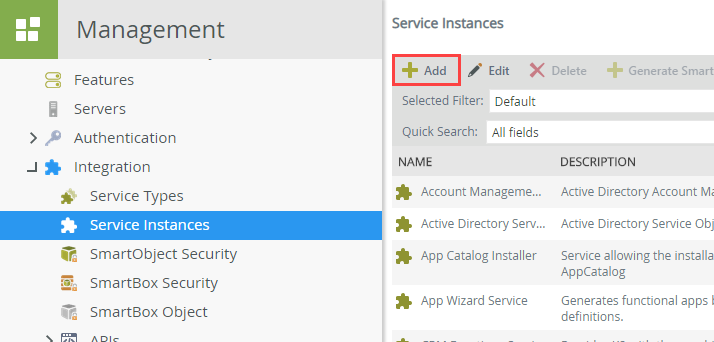
- In the K2 Management site, Go to Integration > Service Instances > and click Add.
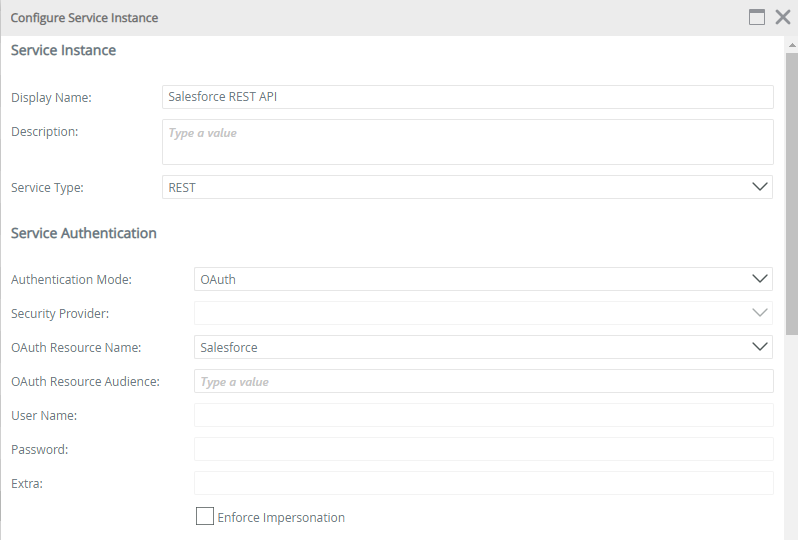
- Give a Display Name value, such as Salesforce REST.
- Choose REST as the Service Type.
- Select OAuth as the Authentication Mode.
- Select the Salesforce resource as the OAuth Resource Name.
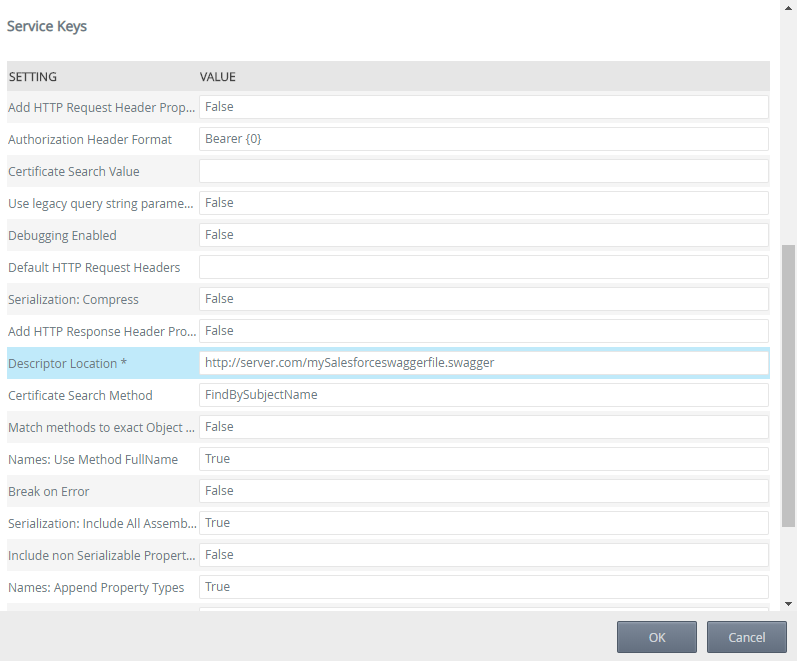
- Add the URL for your SalesForce swagger file in the Descriptor Location. For more information about creating your swagger file see Introducing Lightning Platform REST API. You can also examine the example Salesforce swagger json file.
- If you activate the Generate SmartObjects for this Service Instance checkbox, K2 will automatically create SmartObjects for your Salesforce REST object. You can do this at a later stage using the Generate SmartObjects option in the Service Instances menu, or alternatively you can use the K2 Designer tool to create SmartObjects later.
- Click OK.
- When prompted to grant consent, click the link to authorize this transaction.
Once you have generated or created SmartObjects for your SalesForce REST Service Instance, you can use them in forms and workflows.
