

How To: Download, Install, and Start Using the Package and Deployment for K2 Cloud
KB002316
PRODUCT
You can package and deploy K2 solutions in K2 Cloud using the Package and Deployment tool. Use the steps in this article to download, log in, and use the tool.
Prerequisites
The following items must be in place before you can use the K2 Cloud Package and Deployment (P&D) tool:
- K2 Operations must add your public IP addresses to the Azure Network Access Control List (ACL) - this is for security purposes. You can use a site like https://www.whatismyip.com to determine your machine's public IP address. If your organization uses dynamic public IP addresses, a machine's IP address must be added to the ACL before that machine will be able to run the P&D tool. Contact support if this prerequisite is not possible for your organization.
- Open the port range 25683 – 26707 in your firewall.
-
When requesting your IP to be allowlisted, please make sure to provide the CIDR IP address or range to your support case. As an example, you can use the following website which will provide you with the CIDR IP address or range:
https://www.ipaddressguide.com/cidr - You are a member of the Package and Deployment role. See K2 Cloud User Guide - Roles for more information.
Steps
Use the following three high-level steps to download, install and run the Package and Deployment tool.
Step 1: Grant Consent
If you do not grant consent using a Global/Tenant Administrator account you may see a "Primary Credential Not Authenticated" error. To do this, follow these steps:
You cannot log in to the Workflow REST API and the SmartObject OData API using Basic Authentication with an Azure Active Directory account that has Multi-Factor Authentication (MFA) enabled. Turn off Multi-Factor Authentication before granting consent. You can then turn MFA back on once consent has been granted.
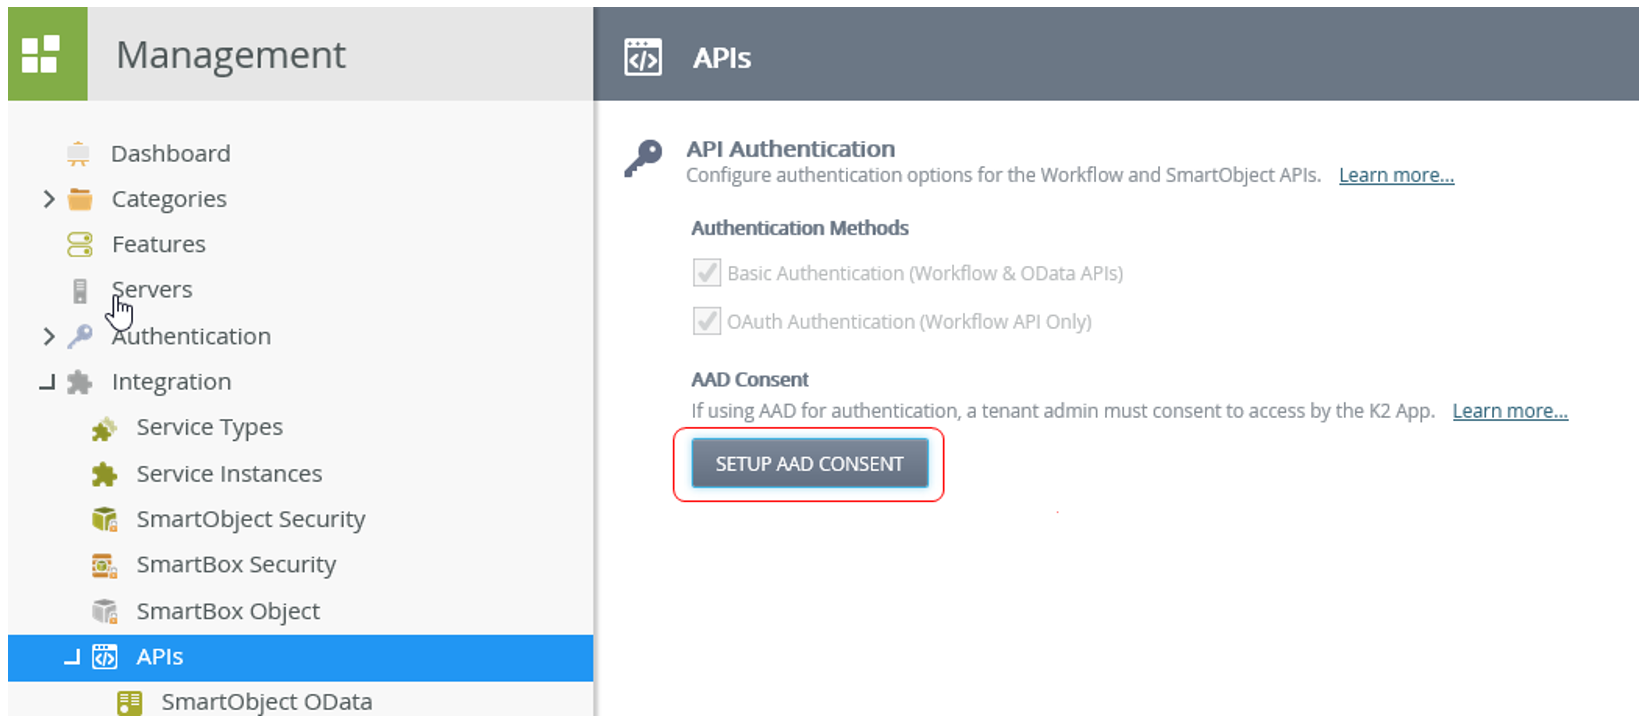
- Go to K2 Management and click Integration > API (For more information on the APIs page, please see the topic APIs in the K2 Cloud Product Documentation.)
- Click the Setup AAD Consent button as shown in the following figure:
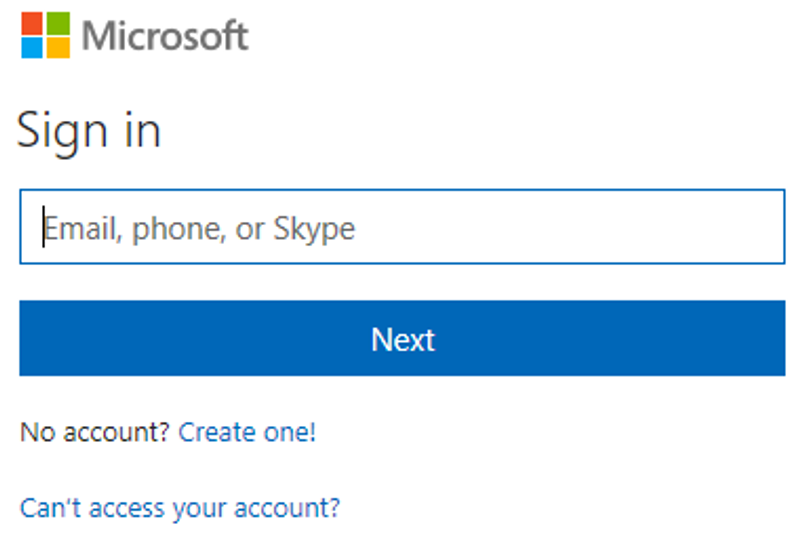
- You are redirected to login to AAD. Provide your admin username and password.
- Click Accept on the consent page which then redirects you to the Authorization Successful message. Close this page.
Step 2: Download the Package and Deployment (P&D) Tool
Use the following steps to download the P&D tool.
- Browse to your Management site and then append 'remote' to the end of the management URL. For example, https://{YourK2CloudID}.onk2.com/Management/remote or https://{YourK2CloudID}.appit.com/Management/remote
Step 3: Log in to AAD and Create or Deploy a Package
Log in using a member of the Package and Deployment role, and then create or deploy a package.
- Depending on your current version, you may see one of the following prompts to log in.
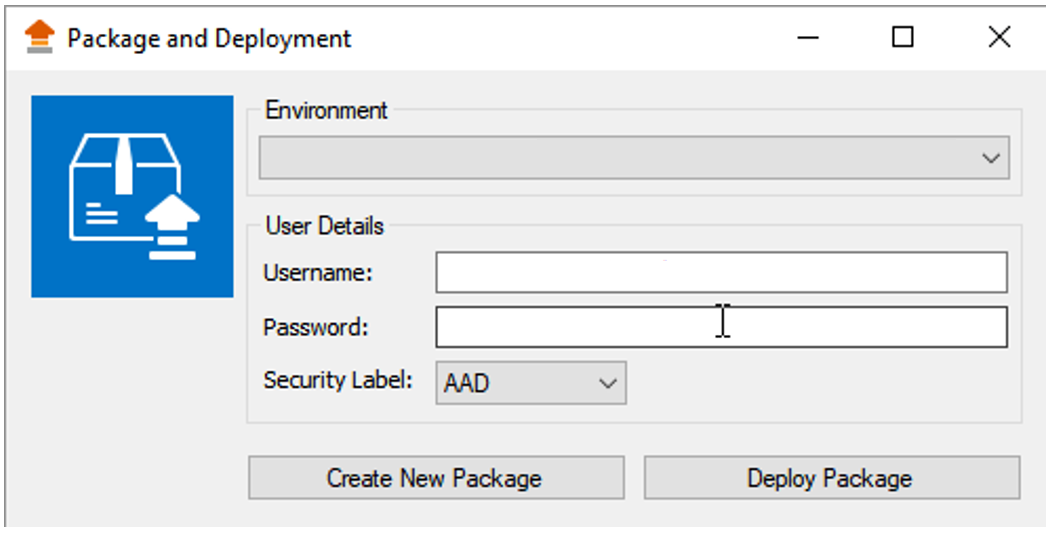
- Choose your environment and then either create or deploy a package. For more information about creating and deploying packages, see K2 Package and Deployment.

